Did you know that 73% of Americans prefer paying with credit or debit cards, while only 19% opt for cash? Payment card machines for retailers have become essential business tools in today’s increasingly cashless world. In fact, credit card usage rose an impressive 15% between 2020 and 2021, with approximately 83% of American consumers now having a credit card.
Setting up a payment card machine for retailers properly ensures fast, secure, and reliable transactions, ultimately saving small and medium-sized businesses from lost sales and frustrated customers. Additionally, businesses that aren’t capitalizing on credit card sales are missing substantial financial opportunities. Fortunately, the setup process usually takes just a few minutes but sets the foundation for smooth transactions going forward.
In this guide, we’ll walk you through the complete process of setting up your card machine in a retail environment—from unboxing and connecting to configuring and maintaining your device. Whether you’re using a wireless terminal or a countertop model, these steps will help you get your payment system up and running efficiently.
Unboxing and Preparing Your Card Machine
When your payment card machine for retailers arrives, proper unboxing and setup are crucial first steps toward accepting card payments. The process is straightforward when you know what to look for and how to prepare your device.
Check included components and accessories
First, carefully unpack your card machine and verify all components are included. Different models come with specific accessories:
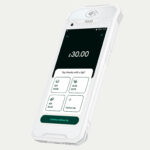
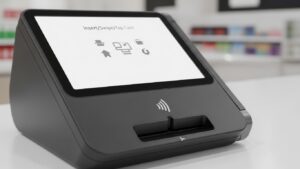
For handheld terminals like Flex models, expect to find the terminal itself, a charging cable with power adapter, and a receipt paper roll. If you’ve purchased a Mini terminal, you’ll receive the touchscreen terminal, power cables, a receipt paper roll, and a connectivity hub. More comprehensive systems like Station Duo include a main touchscreen display, customer-facing display with card reader, receipt printer, and necessary power cables.
Furthermore, many models include protective cases, stands, or additional accessories specific to your terminal model. Always inspect all components for physical damage before proceeding with setup.
Charge or connect the device to power
Next, power up your payment terminal. For wireless models, connect the device to its charging cable and allow it to charge fully—typically taking about two hours for a depleted battery. During charging, you’ll notice an amber (yellow) light indicating charging is in progress. Green indicates a full charge, while red signals low battery or no charge.
For countertop models, simply connect the power adapter to an electrical outlet. Station-type systems require connecting both the main display and customer-facing components to power. Above all, remember to use only the provided cable or docking station, as third-party cables might prevent proper charging.
Load receipt paper if applicable
For terminals with built-in printers, properly loading receipt paper is essential. To install paper:
- Locate and open the paper compartment (usually at the top or back of the terminal)
- Remove any old roll or core, checking for leftover fragments
- Place the new roll with paper feeding from the bottom, thermal side facing the printer
- Pull a small length through the slot and close the compartment securely
- Run a test receipt to verify proper installation
Properly loaded paper prevents jams and incomplete receipts that can disrupt your business operations.
Connecting to the Internet or Network
Once your card machine is powered up, the next critical step is establishing a secure network connection. Your choice of connectivity method impacts everything from transaction speed to mobility options.
Wi-Fi setup for retail environments
Wi-Fi connectivity offers flexibility for retail environments without requiring physical cables. However, it’s essential to maintain secure networks specifically for payment processing. Experts recommend creating separate Wi-Fi networks for your POS system and customer use to minimize security risks.
To connect your payment card machine to Wi-Fi:
- Access your terminal’s network settings (typically found in the settings menu)
- Select “Wi-Fi” and choose your secure network
- Enter your password (case-sensitive)
- Select WPA2-AES security protocol when prompted
Remember that some terminals may not function correctly on newer 5GHz WiFi connections. Consequently, you might need to switch to a 2.4GHz connection for more reliable performance.
Using Ethernet for stable connections
Ethernet connections provide superior stability and reliability for fixed-location retailers. These wired connections rarely experience the connectivity issues that sometimes plague wireless solutions.
An Ethernet connection processes transactions over high-speed internet and is significantly stronger than dial-up alternatives. For merchants requiring consistent performance, Ethernet remains the preferred option, especially for countertop terminals in permanent locations.
4G/5G options for mobile terminals
Cellular connectivity has become increasingly important for retailers seeking mobility. With built-in 4G/5G capabilities, payment terminals can operate independently of fixed-line internet or Wi-Fi.
Moreover, cellular connections ensure secure, encrypted data transmission while enabling real-time payment processing from virtually anywhere. This makes them ideal for food trucks, market stalls, and pop-up shops.
Many modern terminals offer 4G/5G as either the primary connection method or as an automatic failover when Wi-Fi is unavailable. For retailers using mobile terminals, adding a cellular data plan (typically costing $7-9 monthly) provides peace of mind that transactions can be processed regardless of Wi-Fi availability.
Configuring and Registering the Device
After establishing network connectivity, configuring your payment card machine for retailers becomes the next pivotal step. This stage transforms your device from hardware into a fully functional payment processing system.
Powering on and selecting language
Begin by pressing and holding the power button until your screen illuminates. Most terminals will automatically guide you through an initial setup wizard. First, select your preferred language and region—typically English for US-based merchants. This selection determines not only display text but also regional payment processing rules.
Entering merchant credentials
Next, you’ll need to enter your unique merchant credentials provided by your payment processor. These typically include a Merchant ID and possibly login information. Depending on your provider, you might need additional credentials such as:
- Account ID/Token (for Vantiv)
- Transaction Key and Site ID (for Cayan)
- Username and Password (for various processors)
These credentials authenticate your business and link the terminal to your merchant account.
Setting up business details and tax settings
Once authenticated, configure your business details including store name, address, and contact information. Following this, set up your tax configurations under the Sales Taxes and Tax Classes settings. You’ll need to establish:
- Default tax rates for standard transactions
- Custom tax classes for items taxed at different rates
- Tax rules for specific fulfillment methods if applicable
Running a test transaction
Finally, verify your setup with a test transaction—typically for $1.00. Use your processor’s test card numbers rather than real cards:
- Enter the test amount in the payment screen
- Process the test card (often a specific test number like 6011 0009 9154 3426)
- Complete the transaction normally
- Look for a “Decline” message, which paradoxically indicates success
This simple test ensures your payment system is properly configured and ready to accept actual customer payments.
Daily Use and Maintenance in Retail
Proper daily operation and maintenance of your payment card machine for retailers ensures optimal performance and longevity. Let’s explore essential practices for everyday retail use.
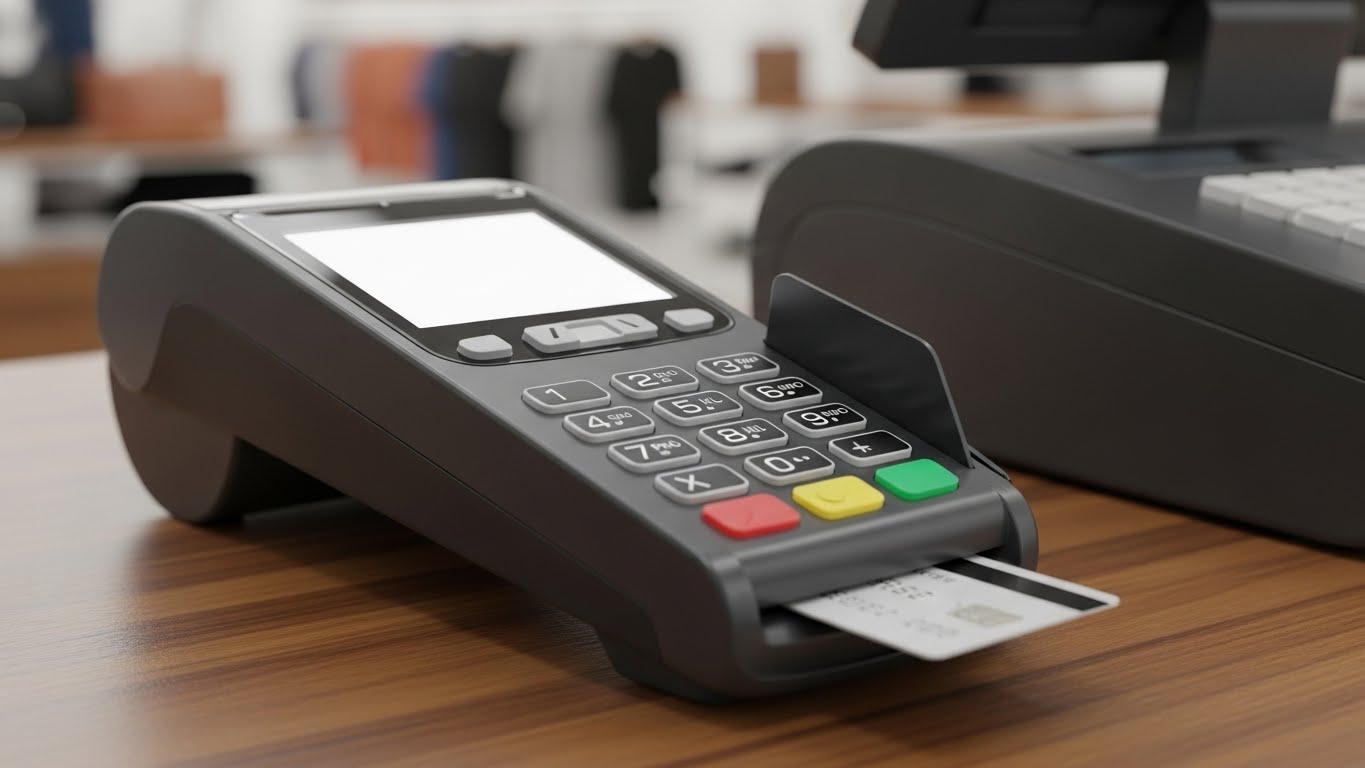
Accepting chip, contactless, and swipe payments
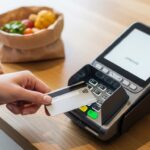
Modern terminals accommodate various payment methods. For chip transactions, customers insert their card and enter their PIN for secure authentication. Contactless payments allow customers to tap their card, smartphone, or smartwatch on the terminal—ideal for transactions under $250. For magnetic stripe transactions, customers swipe their cards through the designated slot.
Issuing refunds and printing receipts
To process a refund on most terminals, navigate to the Transaction History menu, select the original transaction, and choose the Refund option. Enter your supervisor credentials when prompted. Generally, refunds must go back to the original payment card. For receipts, terminals can print customer receipts, payment confirmations, and even QR codes for loyalty programs.
Cleaning and maintaining the card reader
Initially, power off and unplug your device before cleaning. Subsequently, use a microfiber cloth lightly dampened with water or 70% isopropyl alcohol for disinfection. Nonetheless, avoid spraying liquids directly onto the device. Clean card slots using compressed air to remove debris.
Updating software regularly
Terminals require periodic updates for security enhancements and feature improvements. Indeed, most devices update automatically overnight when connected to power and internet.
Troubleshooting common issues
For card reading problems, try rebooting by pressing the yellow and dot keys simultaneously. If experiencing connectivity issues, verify all cables are properly connected.
Conclusion
Setting up your card machine properly marks an essential step for retail success in our increasingly cashless economy. Throughout this guide, we’ve walked through the complete process from unboxing to daily operation. Undoubtedly, taking time to verify all components during unboxing prevents frustrating issues later.
Your choice of network connection significantly impacts transaction reliability. While Wi-Fi offers flexibility, Ethernet provides stability, and 4G/5G ensures mobility for businesses on the go. The configuration process transforms your device from mere hardware into a functional payment system through proper credential entry and business setup.
Day-to-day operations require attention to accepting various payment methods, processing refunds correctly, and maintaining your equipment. Regular cleaning prevents card reading failures, while software updates ensure security remains current.
A well-functioning payment system ultimately creates satisfied customers and prevents lost sales. Though the setup process takes just minutes, it establishes the foundation for thousands of future transactions. Your card machine represents more than just a payment tool—it serves as a crucial touchpoint between your business and customers. Retailers who master these setup and maintenance procedures position themselves for success in today’s digital payment landscape.